As a homeowner, having DIY construction skills can be incredibly beneficial. Not only can these skills save you money, but they also provide you with a sense of accomplishment and increase the value of your home.
Having DIY construction skills can help maintain or renovate your home in numerous ways. Whether it’s something as simple as changing a light bulb or something more complicated like replacing kitchen cabinets, having the know-how to do it yourself will enable you to complete projects quickly and efficiently. You don’t have to hire a contractor for everything that needs to be done around the house, meaning you can save time and money while still achieving the same result. Additionally, DIY construction skills allow you to customize your home according to your preferences, creating a living space that truly reflects who you are.
DIY construction skills also come with several intangible benefits; not only will tackling complex projects give you a sense of pride and satisfaction in knowing that you were able to complete them on your own, but it also provides an opportunity for personal growth as it develops problem-solving abilities while teaching valuable lessons about craftsmanship and dedication. Additionally, many people find working with their hands therapeutic – it is an escape from everyday life and builds confidence in oneself when completing challenging tasks!
If you want to work on your DIY construction skill, home renovation projects are your Mount Everest. However, there will be some obstacles and challenges that you will have to handle. Here are some inspiring renovation projects that you should consider trying at home:
New Flooring Installation
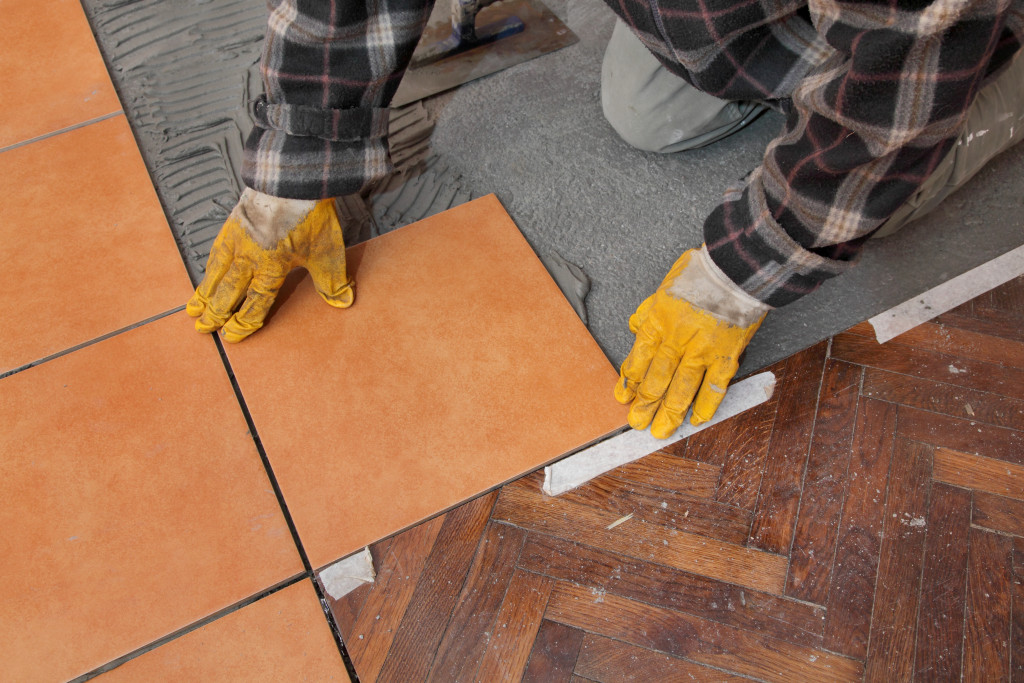
Installing new flooring can be an exciting and rewarding DIY project that can add tremendous value to your home. Fortunately, it’s relatively easy to do, and many flooring options fit any budget or style. Before you begin, however, make sure you have the necessary tools and materials.
The first step is to look at the area of the room where you plan to install the new flooring. This will help you determine how much material you will need to purchase. Once this is done, it’s time to prepare the subfloor, typically made up of plywood sheathing or particleboard sheets. Ensure these materials are securely fastened and leveled before laying down your new flooring material.
Once everything is prepped and measured out properly, it’s time to start by laying down your chosen flooring material according to manufacturer instructions depending on what material you purchased. Hardwood floors require nailing, vinyl requires adhesive, and other types may require gluing instead. Be sure to follow manufacturer instructions closely when applying adhesives, and do not leave any gaps between planks/tiles, as this could lead to problems with creaking and shifting over time due to expansion/contraction caused by climate changes within your home environment throughout the year.
Finally, once all pieces are correctly installed, check them with a leveler tool at least twice – once after installation and again after 24 hours when the adhesive has dried completely – just in case something has shifted slightly during the drying process for necessary corrections before finishing off with trimming off edges with either quarter round moldings for wood floors or baseboards for vinyl tiles installation projects!
Outdoor Shed Building
Building a shed can be an enriching experience. Not only does it create extra storage in your backyard, but it also provides you with the opportunity to work on a project from start to finish. Before you begin, however, ensure that you have the necessary tools and materials.
The next step is to correctly measure the area where you plan to build your shed so that everything fits perfectly once it’s done. Once this is done, mark off the perimeter of where your hut will go and dig out any grass or other debris within those boundaries before laying down a foundation material such as gravel or concrete blocks for support.
Once the foundation is laid out, start building your frame using treated wood boards and galvanized nails/screws. Make sure the frame is level and square before attaching the siding material to give your shed a finished look.
Finally, it’s time to install the roof. This can be done using shingles or metal sheets, depending on your area’s climate and how much protection you want for your items stored in the shed. After the roof is installed, add windows for ventilation and light within the shed if desired. Finally, finish off with trimming around doors/windows with trim boards or moldings as necessary!
It will feel like building an entire structure for beginners, making it an ideal experiment for DIY homeowners looking to improve their skills significantly. However, it can still be challenging to perform. Fortunately, you can get 8×12 shed plans to make it easier to visualize and achieve what’s needed during construction.
Final Thoughts
These are just two exciting home renovation projects that you can try to improve your DIY construction skills. With a little bit of determination and patience, you’ll find that these projects are not only satisfying but also incredibly rewarding! Try one today and transform your home into a beautiful, personalized living space.